


Vehicle installation
Vehicle installation
Here are the steps to install our bike rack on the hitch vehicle.
PARTS REQUIRED FOR THE INSTALLATION OF THE BIKE RACK ON A 2″ HITCH
Included
- Bike rack
- 2″ hitch adapter
- Allen key
- Allen screw 3/8″
- Padlock
Not included
- Lock hitch pin
- Security cable
Step 1
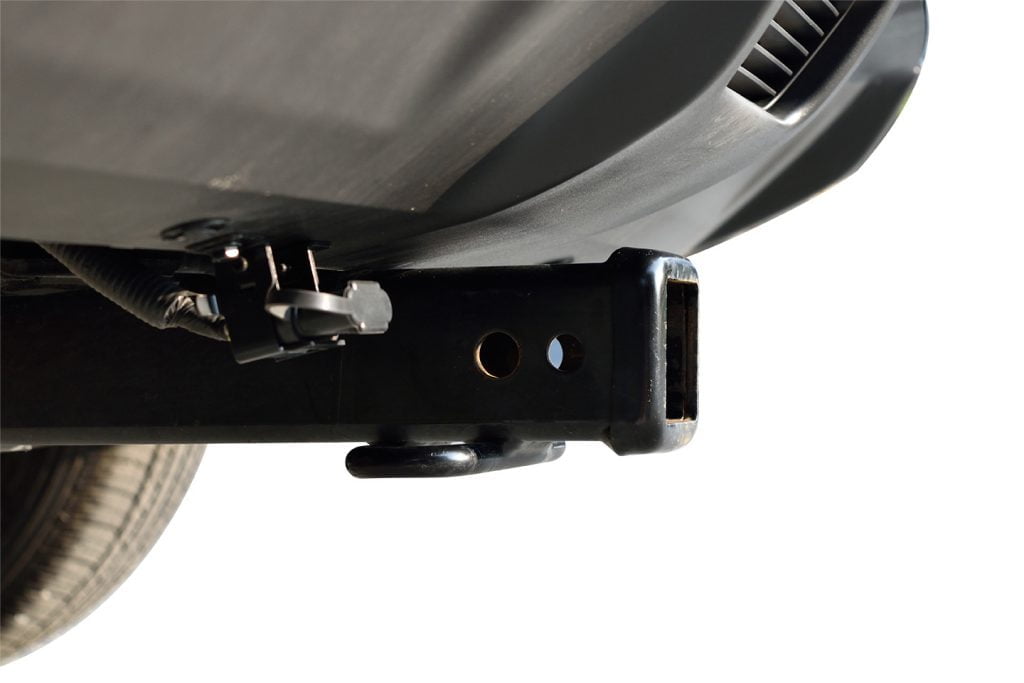


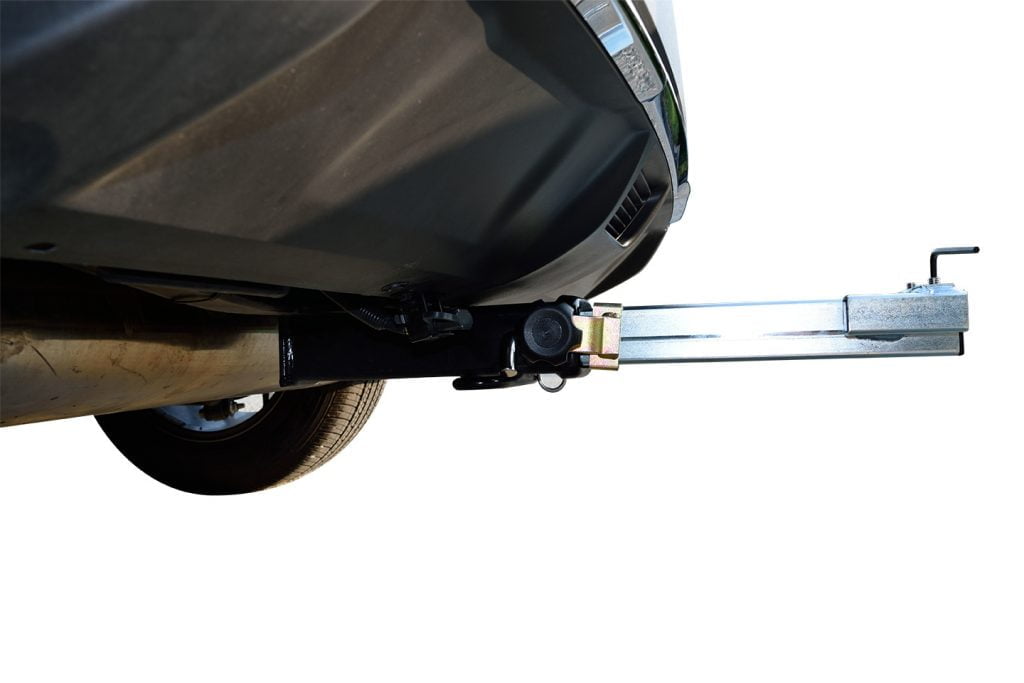
- Insert anti-rattle into to 2″ adapter
- Insert the 2″ adapter into your hitch;
- Align the hole of your hitch with the hole of our adapter to be able to insert your hitch pin;
- Insert the hitch pin into the hole;
- Slide the anti-rattle to the tip of your hitch and tighten the handle as tightly as possible.
Step 2


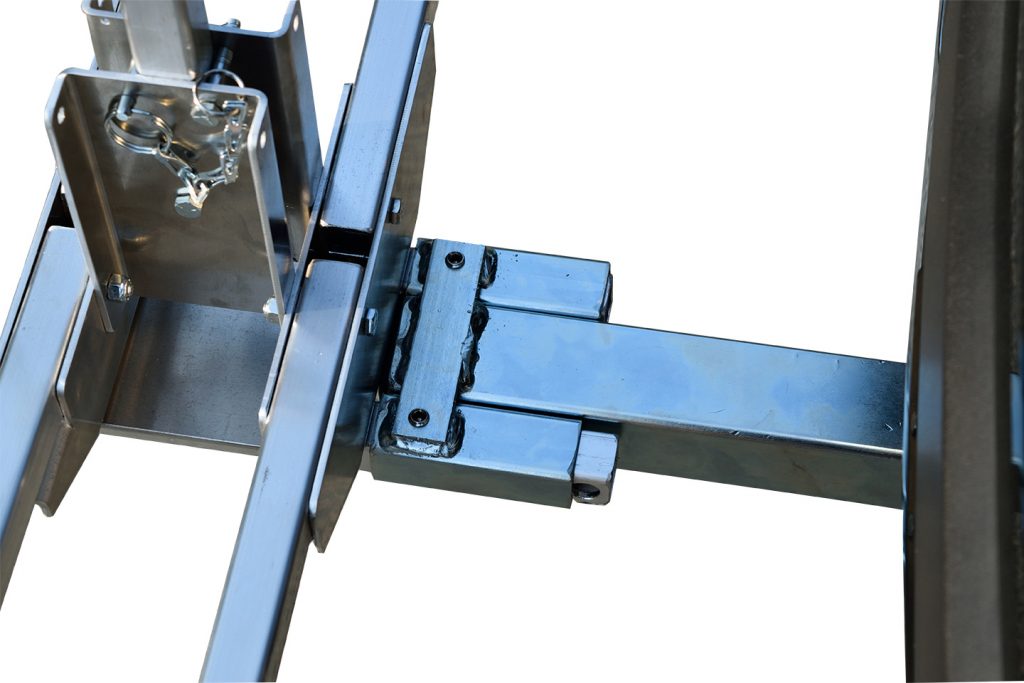

- Unscrew the Allen screws enough to get the base of the bike rack into the adapter;
- Enter the longest bar in first to facilitate entry of the smallest;
- Tighten the Allen screws as tightly as possible with the Allen key;
- The longest bar has a hole at its tip to insert a padlock to secure your bike rack and to increase its strength.
Step 3
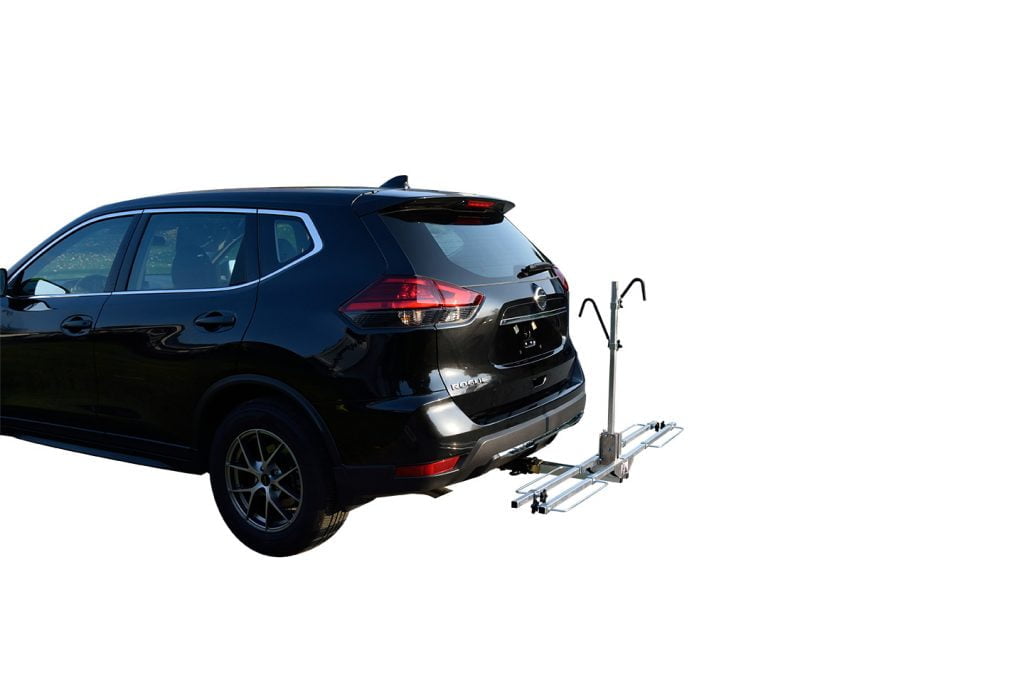


- Remove the pin located at the bottom of the center bar and lower it to facilitate the installation of the bike closest to the vehicle;
- Adjust the wheel adapter according to the length of your bicycle;
- Insert your bike into the wheel adapter and lower the hook on the frame of your bike;
- Make sure to not leave any space between the hook and your bicycle and tighten the hook handle as tightly as possible;
- For your second bike, please install it in the opposite direction and repeat the previous steps.
You are now ready to go! Installation takes about 5-10 minutes.

If you have a safety cable, you can lock your bike rack with your padlock in the hole at the base.